

Turning it on
1
Go to Website
Under Guest management in your dashboard.
2
Turn the toggle On
Your site becomes visible at your chosen link.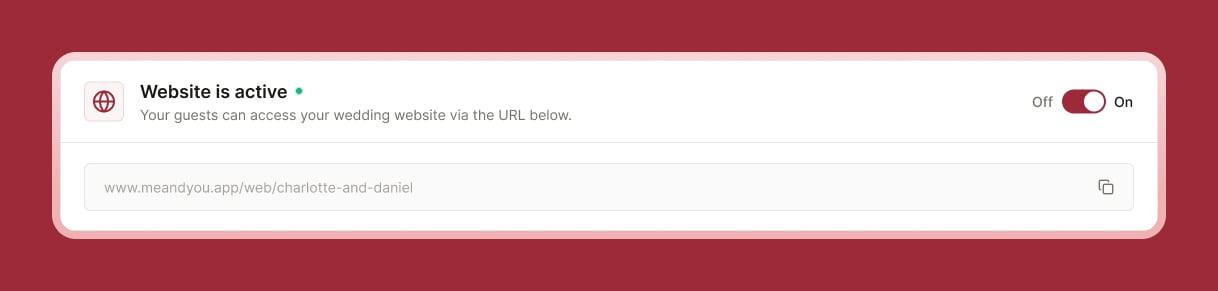
3
Choose your URL
Edit the address slug so it’s easy for guests to remember and type. Change the slug, see whether it’s available and it gets saved automatically after you’re done.
4
Pick a look
Choose a color scheme and font pairing.
Designing your pages
Select Edit website to open the visual editor. Add and reorder sections like:- A hero section with your names and a welcome message
- Where & when (your venues, date, and time)
- Schedule (pulled from Schedule & timeline)
- A photo gallery
- A countdown to your big day
- An RSVP button linking to your questionnaire
- Contact cards for questions
- A media upload button so guests can share their own photos