

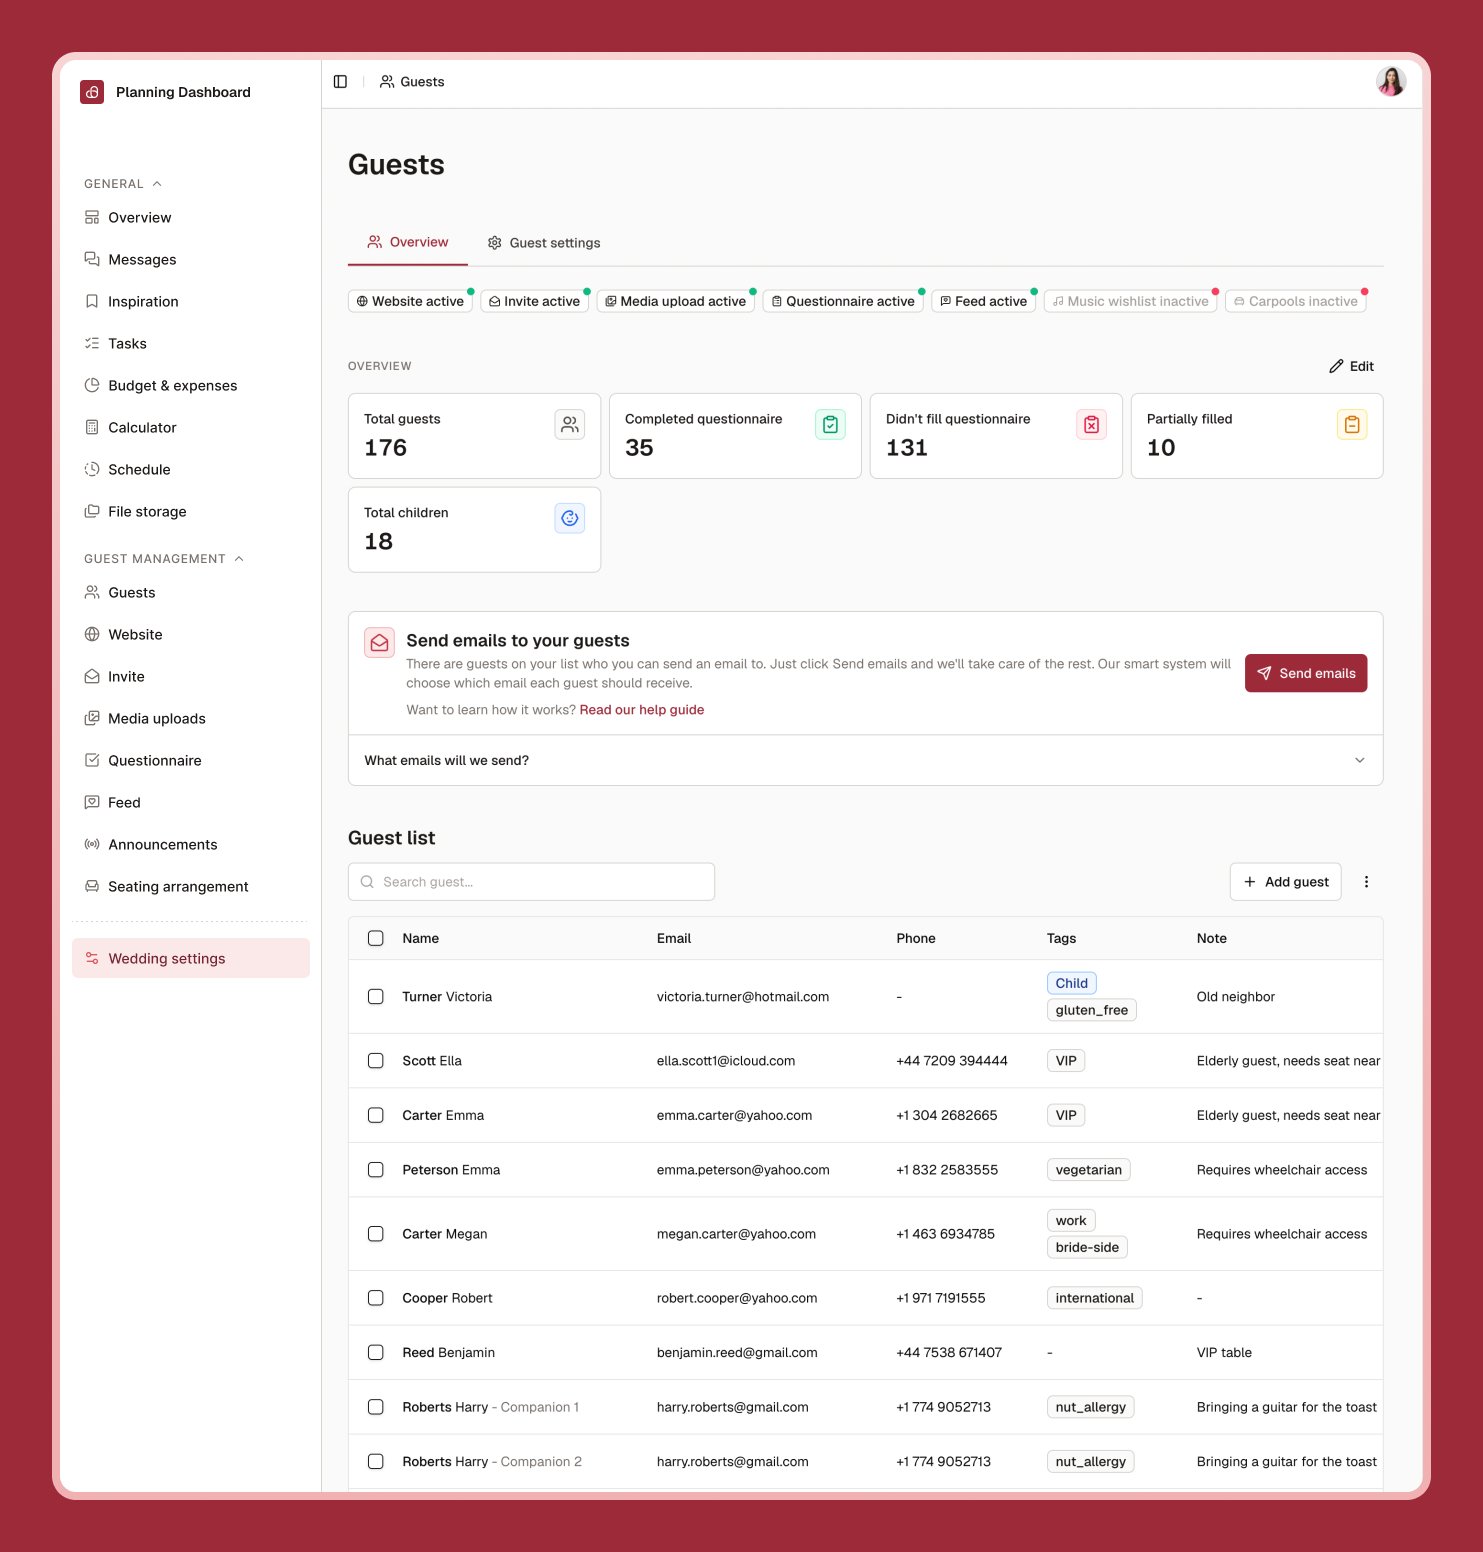
Adding guests
1
Select Add guest
Enter a name and, ideally, an email address so you can send them an invitation later.
2
Add companions if needed
Group a plus-one, partner, or children under the same invitation.
3
Tag guests (optional)
Use tags like “family,” “friends,” or “work” to organize and filter your list.
Importing a list
Already have a spreadsheet? Select Import and upload a CSV file to add many guests at once.Guests import guide video
Keeping your list organized
Use search, choose which columns to display, and select multiple guests to delete or update them together. Each guest’s row shows their RSVP status at a glance, and selecting a guest lets you edit their details, view their questionnaire answers, add a companion, resend an email, or remove them.Search, filter and column select guide video
Guest settings
The Guest settings tab (next to Overview) is where you turn on and configure the modules guests can access — your website, invitation, questionnaire, feed, and media uploads. Each of those has its own guide in this section. Take a good look at these settings to use me&you to the fullest.Sending emails with smart send
Look for the Send emails to your guests card on the Guests page — it’s a quick way to catch anyone you haven’t emailed yet. Select Send emails and our smart send system takes care of the rest: it looks at where each guest is in the RSVP process and automatically picks the right email for them, so nobody gets the wrong message or an accidental duplicate.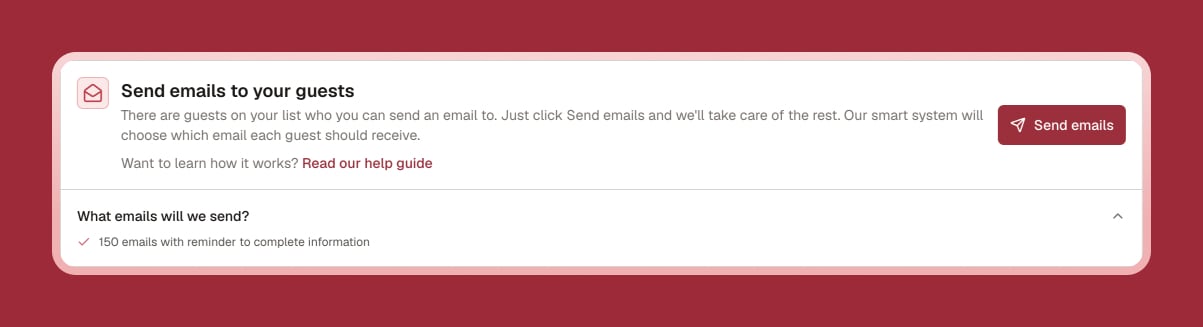
The emails smart send can send
- Initial invitation — the first email to a guest you haven’t contacted yet. It includes your questionnaire if you’ve turned one on.
- Questionnaire added — lets a guest know a questionnaire is now ready for them, if you invited them before it existed.
- Reminder to complete — for guests who were invited but haven’t answered your questionnaire yet.
- Review after an update — for guests who already answered, sent when you’ve added or changed questions since their response.
Who smart send skips
- Guests without an email address — add one to their details to include them next time.
- Guests who’ve already finished and nothing has changed since.
- Anyone emailed in the last 24 hours, so you can’t accidentally send the same guest two emails in a row.
Questionnaire
Build the RSVP form guests fill out.
Digital invitation
Design the invitation guests see first.